ServiceNow»
Info
This feature is only available to Enterprise plan. Please check out our pricing page for more information.
About the integration»
The ServiceNow integration with Spacelift creates a bridge between your infrastructure as code workflows and ServiceNow's enterprise platform. This integration enables teams to automate infrastructure provisioning and management tasks directly through ServiceNow, maintaining compliance and governance while leveraging Spacelift's powerful infrastructure management capabilities.
Setup Guide»
Setup a User in ServiceNow»
To enable Spacelift to create resources on the ServiceNow side, you need to set up a dedicated user account. Follow these steps:
- Navigate to System Security > Users and Groups > Users.
- Click on New to create a new user.
- Fill out the form. The only required field is the User ID. Once completed, click Submit.
- Go to the details of the newly created user and generate a password. You can uncheck the Password needs reset option in the user details or go through the reset flow.
- Navigate to the Roles tab and add the following roles:
web_service_admin: Allows the creation of "REST Message".business_rule_admin: Allows the creation of "Business Rule".catalog_admin: Allows the creation of "Catalog Item".
- Save the changes.
Create Integration in Spacelift»
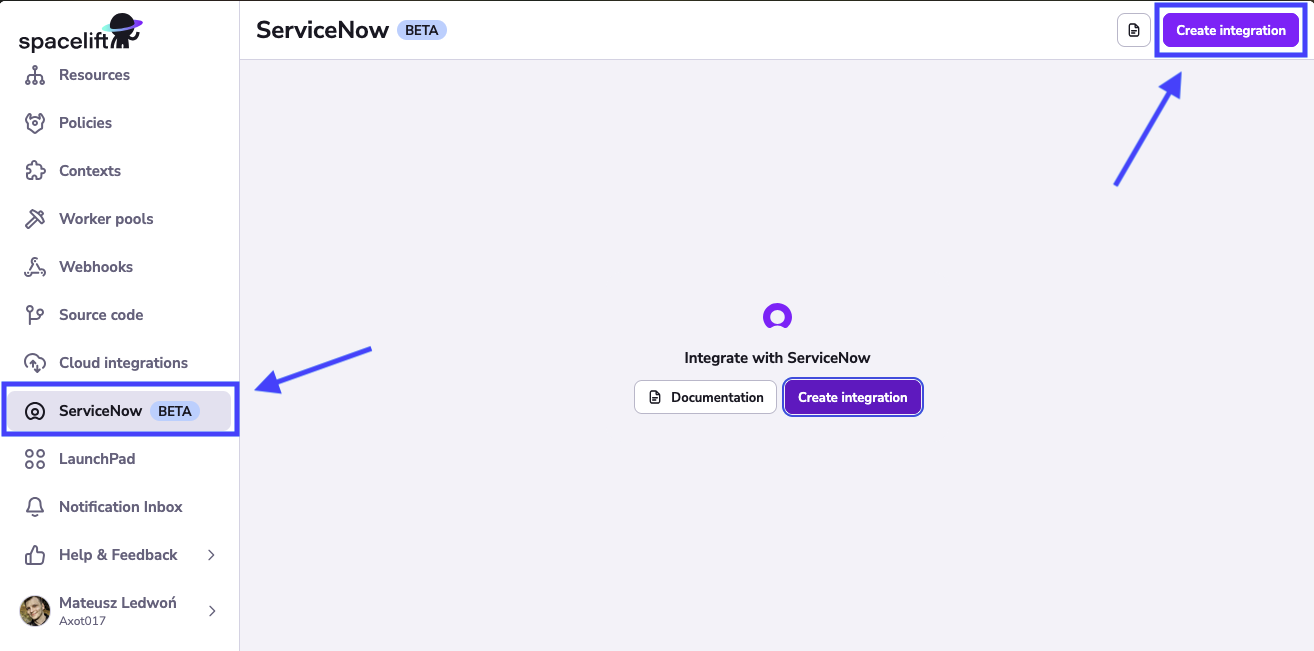
To create an integration with ServiceNow in Spacelift, follow these steps:
-
Navigate to Integrations > ServiceNow > Create Integration.
-
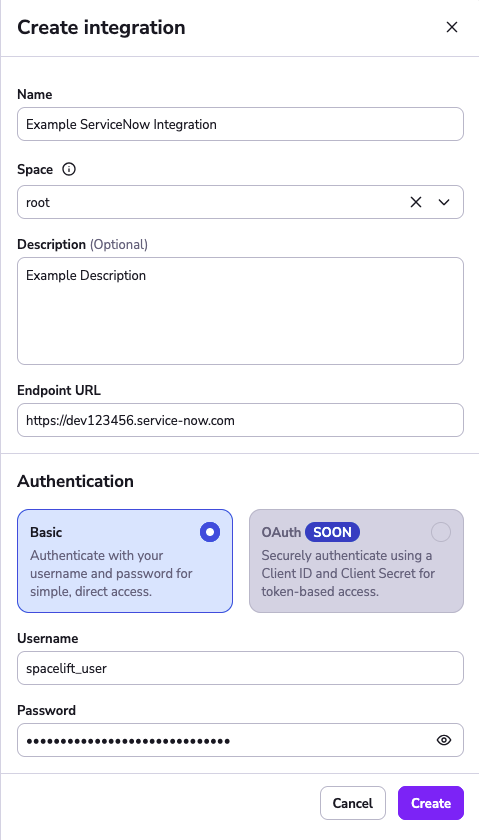
Fill in the details in the form:
- Name of the Integration: Provide a name for the integration.
- Space: Select the space where the integration will be created. This will determine which blueprints can be attached to this integration.
- Description: Optionally, provide a description for the integration.
- Integration Base URL: Enter the base URL of your ServiceNow instance, e.g.,
https://{id}.service-now.com. - Username: Enter the username for the account created in the previous step.
- Password: Enter the password for the account created in the previous step.
-
Click Create to finalize the integration setup.
After completing these steps, Spacelift will create a "REST Message" on the ServiceNow side (found under System Web Services > Outbound > REST Message) with the authorization details, which will be used for authentication in Spacelift.
Integration Capabilities»
Blueprints»
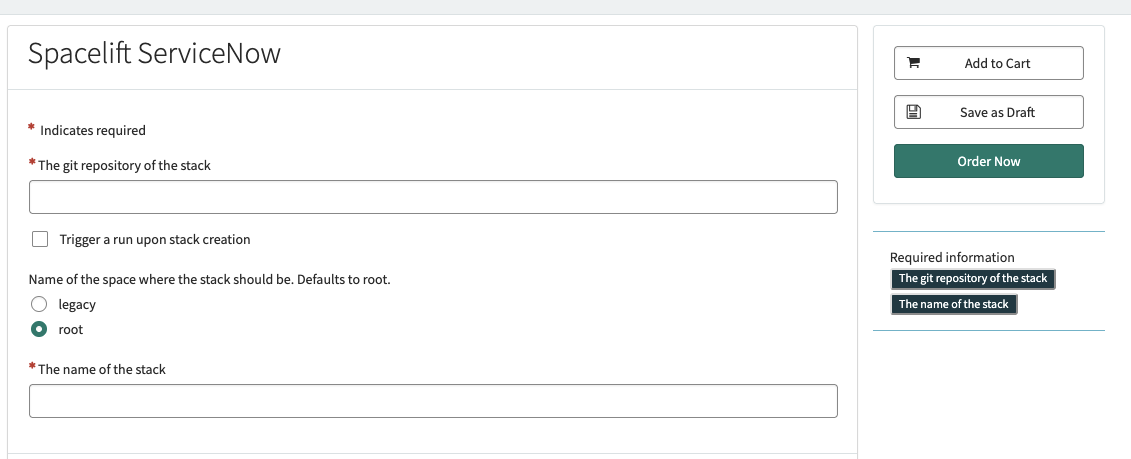
The Blueprint integration creates ServiceNow catalog items that correspond to your Spacelift Blueprints. When a user orders such a catalog item in ServiceNow, it triggers the creation of a new Spacelift stack based on the associated blueprint.
Attaching Integration to Blueprint»
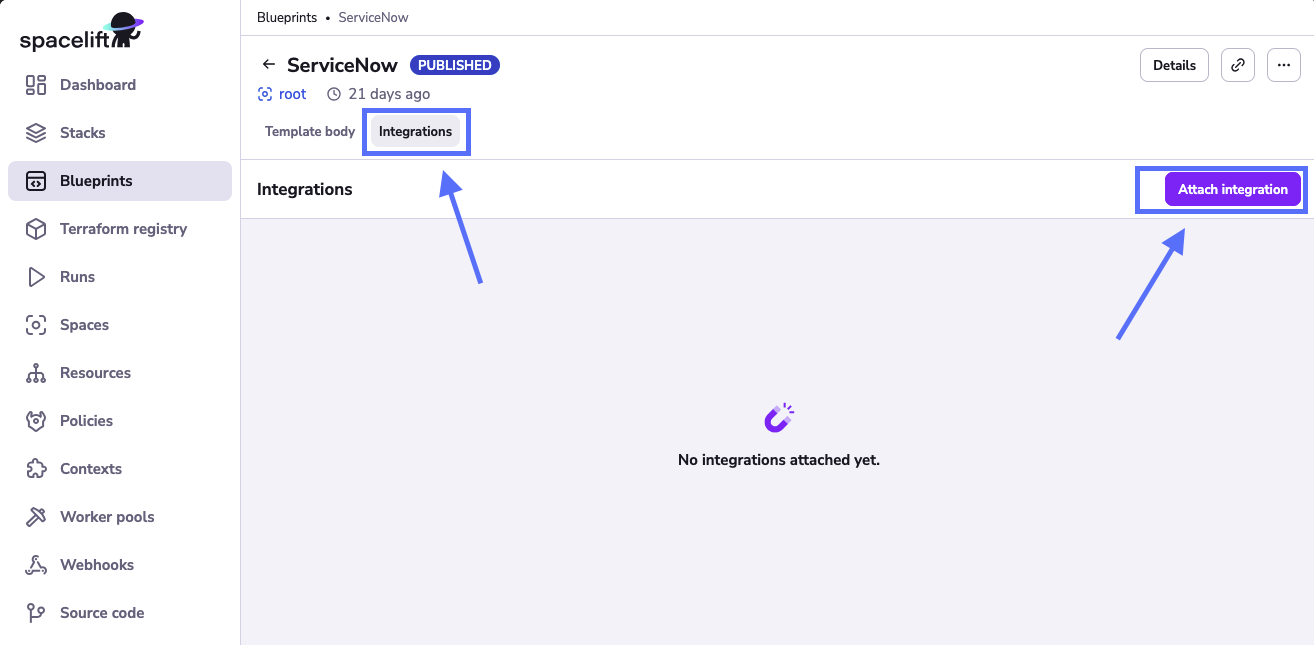
To create a service catalog item using Blueprints, follow these steps:
- Navigate to Blueprints.
- Select the blueprint you want to use to create a service catalog item.
-
Go to the Integrations tab.
-
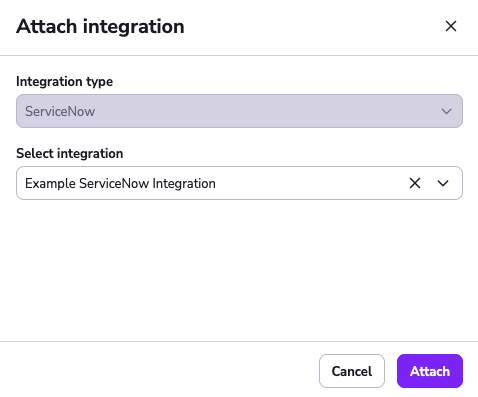
Click Attach Integration.
- Select the integration created in the previous step.
-
Click Attach.
After completing these steps, Spacelift will create the following resources on the ServiceNow side:
- Service Catalog Item: Found under Service Catalog > Catalog Definition > Maintain Items, along with variables that need to be passed to the blueprint to create a stack.
- Business Rule: Found under System Definition > Business Rules, with a custom script that transforms ServiceNow variables into blueprint input and calls the Spacelift API to create a stack based on the blueprint.
Feel free to adjust any of these resources to suit your needs.
This image shows an example of a ServiceNow service catalog item ordering interface after a successful integration with Spacelift.
Removing Integration»
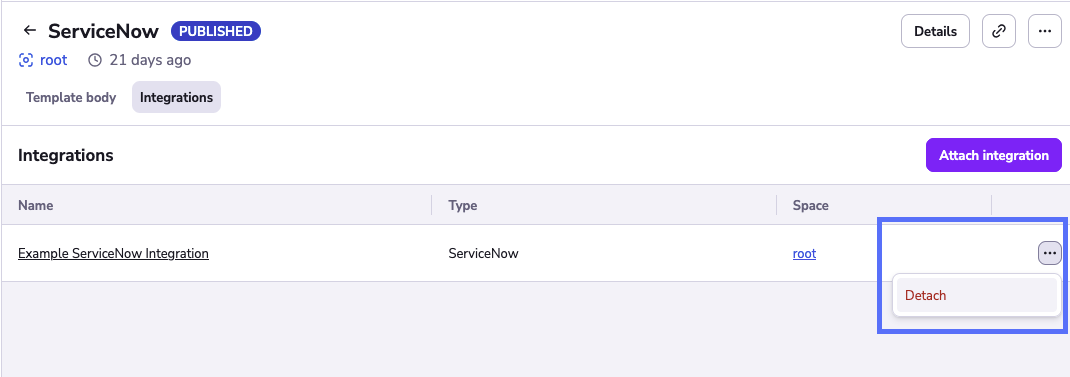
To remove the integration, you need to first detach it from all blueprints.
Then, navigate to the ServiceNow Integration tab and remove the integration itself.
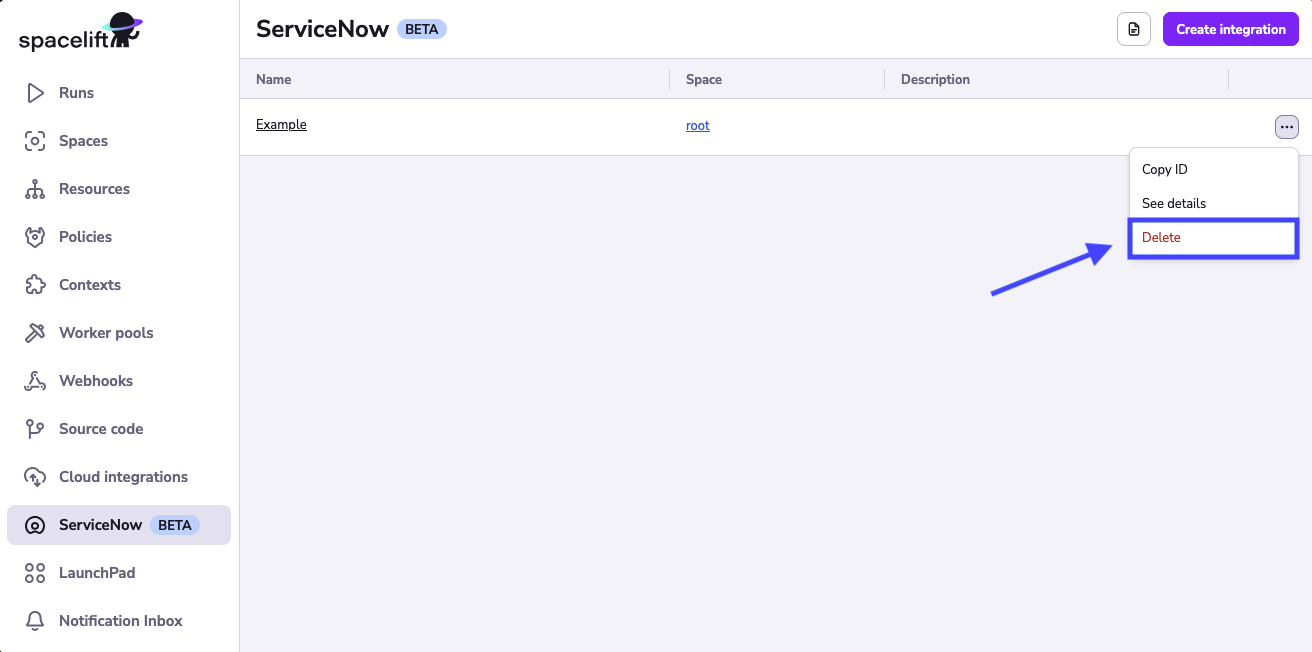
When detaching and deleting the integration, Spacelift will also attempt to remove resources created on the ServiceNow side.